Introduction
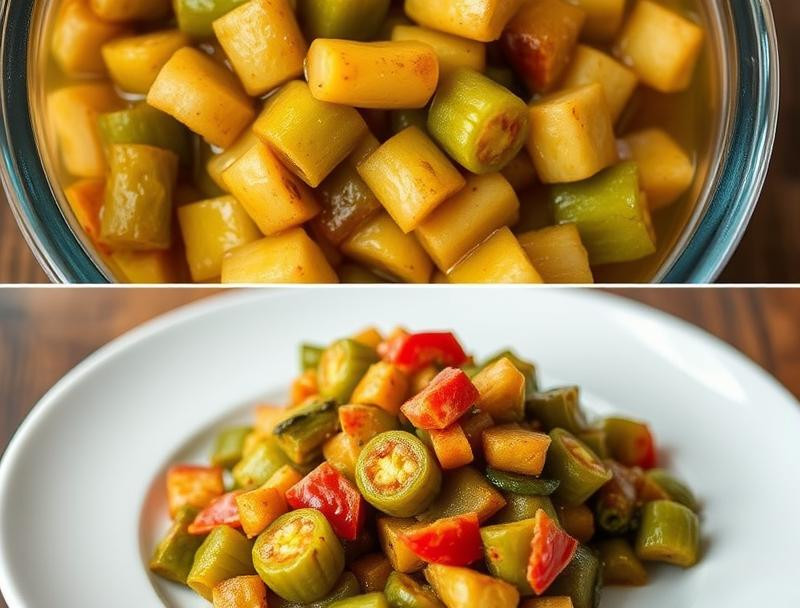
Transform humble okra into an addictive, crunchy, and tangy treat! This homemade pickled okra recipe is unbelievably easy, perfect for beginner picklers, and guaranteed to become a family favorite. Get ready to experience the magic of transforming everyday ingredients into a sensational side dish or snack!
Why This Works
This recipe works because it strikes the perfect balance of sweet, sour, and spicy. The simple brining process ensures the okra stays crisp and vibrant, while the flavor combinations are addictive enough to keep everyone coming back for more. It’s also incredibly versatile – perfect as a snack, a side dish for barbecues, or even a unique addition to sandwiches and salads!
Key Ingredients
- 🍆 2 pounds fresh okra, trimmed
- 🌶️ 1-2 red jalapeños, thinly sliced (remove seeds for less heat)
- 🧄 4 cloves garlic, minced
- 🧅 1 medium yellow onion, thinly sliced
- 🌿 1/2 cup fresh dill, chopped
- 🍎 1 cup apple cider vinegar
- 🧂 1/2 cup water
- 🍯 1/2 cup honey or brown sugar
- 🥄 1 tablespoon salt
- 🌿 1 teaspoon black peppercorns
Instructions
1️⃣ Prep the Okra: Wash and trim the okra, removing the stem ends. Cut the okra into 1/2-inch thick slices.
2️⃣ Combine Ingredients: In a large bowl, combine the sliced okra, jalapeños, garlic, onion, and dill.
3️⃣ Make the Brine: In a small saucepan, combine the apple cider vinegar, water, honey (or brown sugar), salt, and peppercorns. Bring to a simmer over medium heat, stirring until the honey/sugar is fully dissolved.
4️⃣ Pack and Pour: Pack the okra mixture tightly into clean, sterilized jars, leaving about 1/2 inch of headspace. Carefully pour the hot brine over the okra, ensuring all pieces are submerged. Leave about 1/2 inch of headspace at the top.
5️⃣ Seal and Process: Wipe the rims of the jars clean, and seal tightly with lids and rings. Process the jars in a boiling water bath for 10 minutes. This step is essential for safe preservation. (See Heat Control section for details).
6️⃣ Cool and Store: Remove the jars from the boiling water bath and let them cool completely. You should hear a satisfying “pop” sound as the jars seal. Store in a cool, dark place for at least 2 weeks before enjoying for the best flavor development.
Handy Tips
- Use a vegetable peeler to easily remove the tough outer layer of the okra if you prefer a smoother texture.
- For extra flavor, add a few bay leaves or a sprig of thyme to the brine.
- If you don’t have apple cider vinegar, white vinegar can be substituted, but the flavor will be slightly different.
Heat Control
The boiling water bath is crucial for safe canning and prevents the growth of harmful bacteria. Make sure the water completely covers the jars by an inch. Processing for the recommended 10 minutes ensures the pickles are properly preserved. Adjust processing time according to your altitude if necessary (refer to a canning guide for altitude adjustments).
Crunch Factor
The key to crunchy pickled okra is to use fresh, firm okra and to ensure the brine completely covers the okra in the jars. Overcrowding the jars can lead to mushy okra. The vinegar and salt in the brine help preserve the crispness.
Pro Kitchen Tricks
- For a quicker version, skip the water bath processing and store the pickles in the refrigerator. These will keep for about 3-4 weeks.
- Add a pinch of red pepper flakes to the brine for an extra kick.
- Experiment with different herbs and spices, such as mustard seeds, celery seed, or coriander, to create your unique blend!
Storage Tips
Once the jars are sealed and cooled, store them in a cool, dark, and dry place. Refrigerated pickled okra will last for approximately 3-4 weeks. Properly canned pickled okra, processed in a boiling water bath, can last for 1-2 years on the shelf.
Gift Packaging Ideas
These pickled okra jars make wonderful gifts! Tie a ribbon around the jars and attach a cute label with the recipe or a personalized message. Include a small note with serving suggestions. They’re perfect for housewarming gifts, holiday presents, or hostess gifts.
Flavor Variations
🌟 Spicy Dill: Add more jalapeños, a few slices of fresh ginger, and some extra dill for a spicier, more herbaceous flavour.
🌟 Garlic Lover’s Delight: Increase the amount of minced garlic and add a few smashed garlic cloves to the jars for an intense garlic flavor.
🌟 Sweet and Tangy: Use a combination of honey and brown sugar for added sweetness and a deeper flavor profile.
🌟 Lemon-Herb: Add the zest and juice of one lemon to the brine along with your favorite fresh herbs, such as rosemary or oregano, for a bright and fragrant twist.
Troubleshooting
- Mushy Okra: This is usually due to overcrowding the jars or not using a water bath. Follow the instructions closely for optimal results.
- Cloudy Brine: This is quite common and doesn’t affect the taste or safety. It can sometimes be caused by impurities in the water.
- Jars Not Sealing: Check to ensure the lids were clean and properly sealed. Improper sealing can cause spoilage, so discard any jars that did not seal.
FAQ
- Can I use frozen okra? No, fresh okra is best for this recipe. Frozen okra tends to become mushy when pickled.
- How long does it take to make pickled okra? The process itself takes around 30-45 minutes, plus at least two weeks of fermenting time for the best flavor.
- Can I use other types of vinegar? Yes, you can use white vinegar but the flavor will be different, less nuanced than apple cider vinegar.
- What should I do if my jars didn’t seal? If the jars didn’t seal properly, refrigerate the pickled okra and consume them within 3-4 weeks. Do not store unsealed jars at room temperature.
- What are some ways to serve pickled okra? Enjoy it as a snack, a side dish to grilled meats, add it to your favorite salads, or use it as a flavorful topping for sandwiches and burgers!
Conclusion
We hope you enjoy this addictive homemade pickled okra recipe! It’s a simple yet rewarding recipe that’s perfect for sharing with friends and family. Don’t be afraid to experiment with different flavor combinations – the possibilities are endless! Happy pickling!